

/oauth-onboarding if you used Google).Main hub: Onboarding & setup guide
Quick reference
Example: FreshBite Meal Prep
FreshBite delivers healthy meals in Dhaka. Support lead Anika has never used a shared inbox before. Her goal: stop answering WhatsApp on a single phone.Before you start — open Onboarding (optional but recommended)
Sidebar → Onboarding (/onboarding) — Step 1 is expanded by default.
Step 1 — Connect WhatsApp
From Onboarding: Click Manage channels →/settings/workspace/channelsOr: Settings → Workspace → Channels → Add Channel
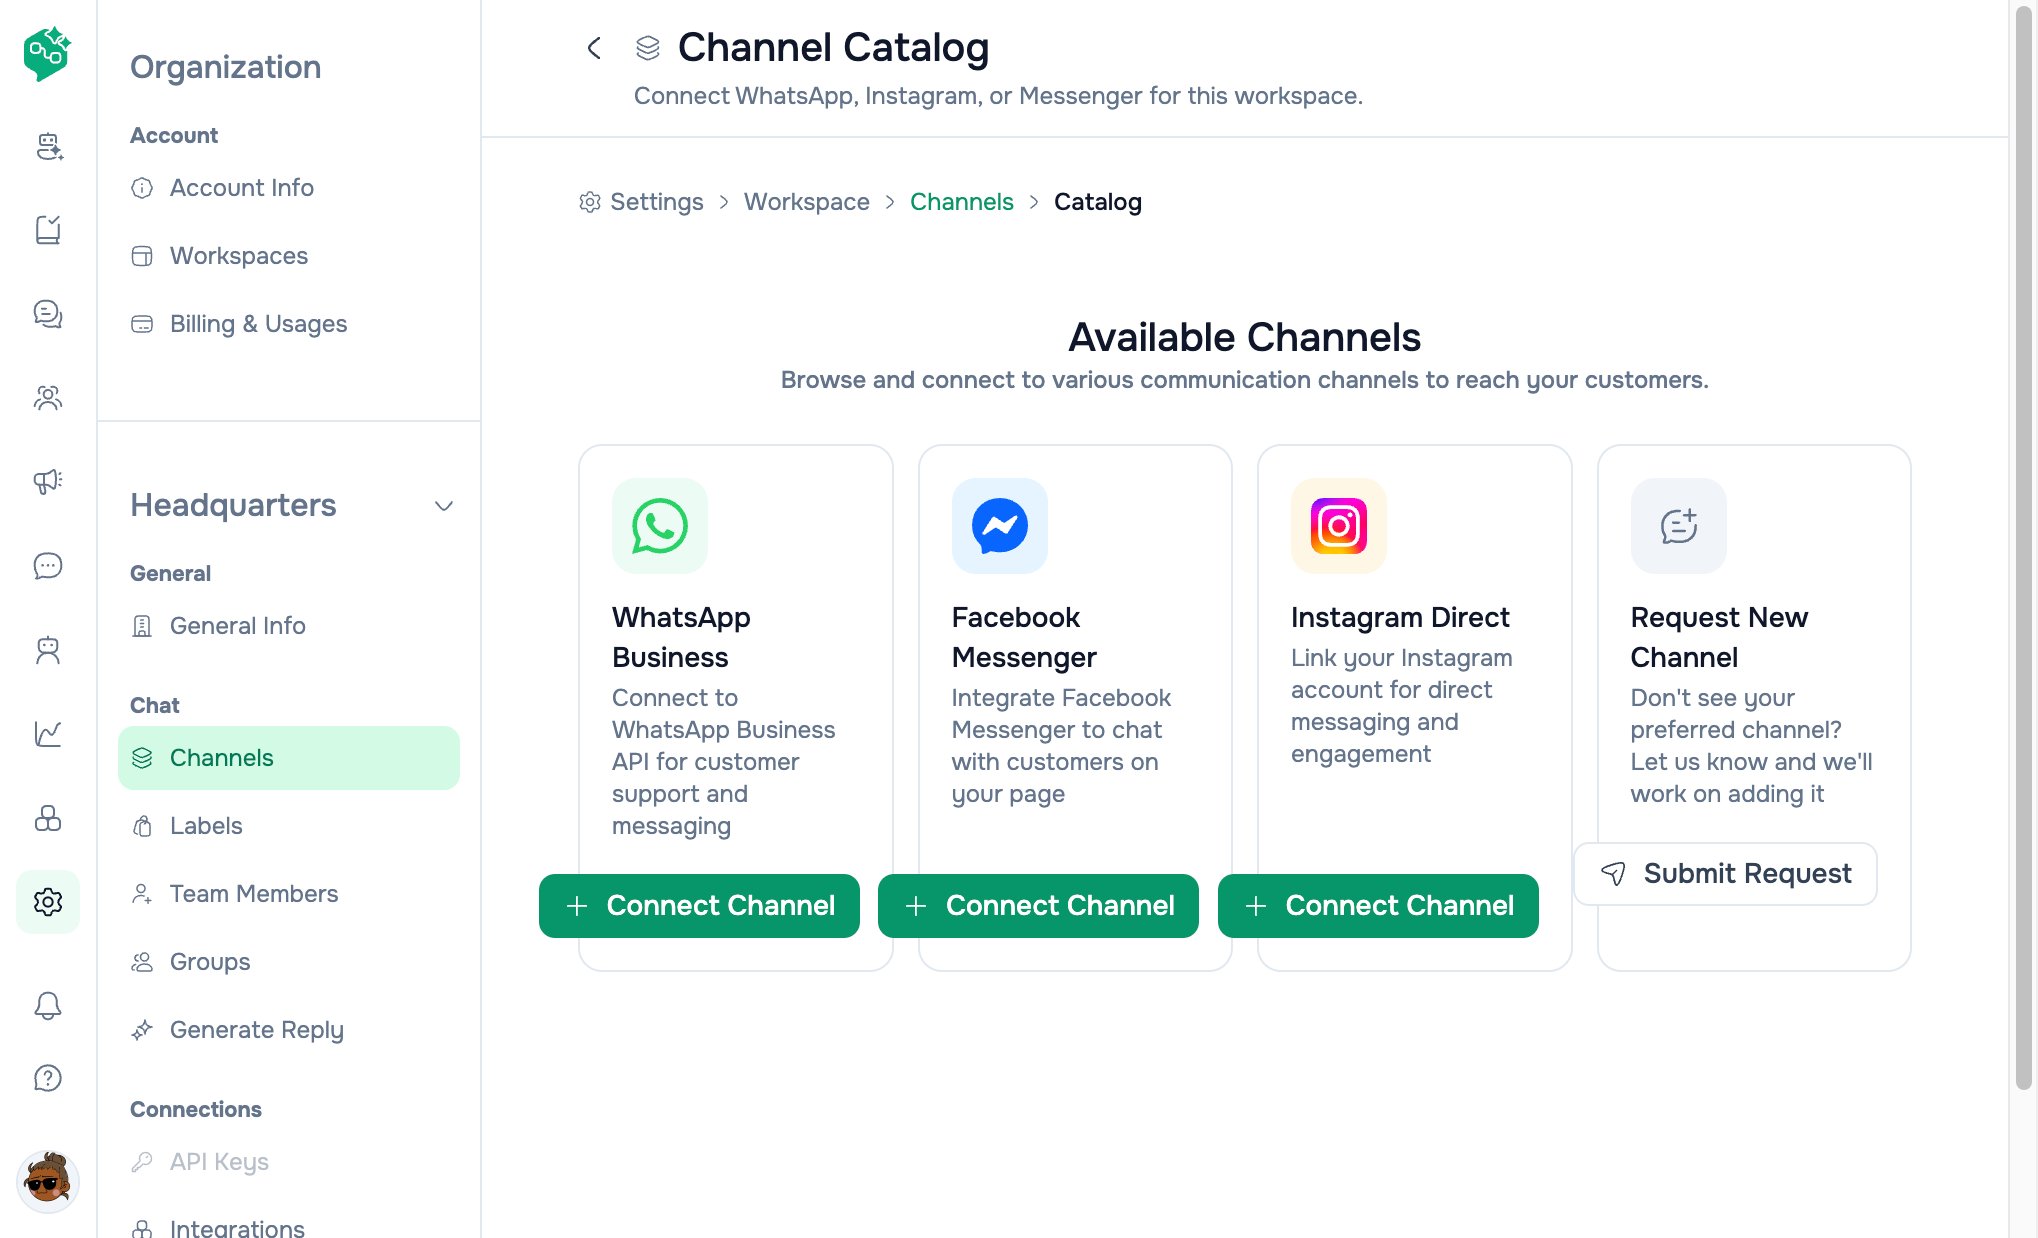
Channel catalog
- Channel Catalog → WhatsApp Business → Connect Channel
- Choose use case:
- Support only — inbox + templates only
- Support, sales & ads — also Click-to-WhatsApp ads
- Prepare — check authorization box → Continue
- Connect with Facebook — complete Meta embedded signup
- Wait until status is Active on the Channels list
Tip: Step 1 on the Onboarding page includes a video guide under “How it works”.
Deep dive: WhatsApp
Step 2 — Create labels before volume hits
From Onboarding: Create Your First Label →/settings/workspace/labelsOr: Settings → Workspace → Labels
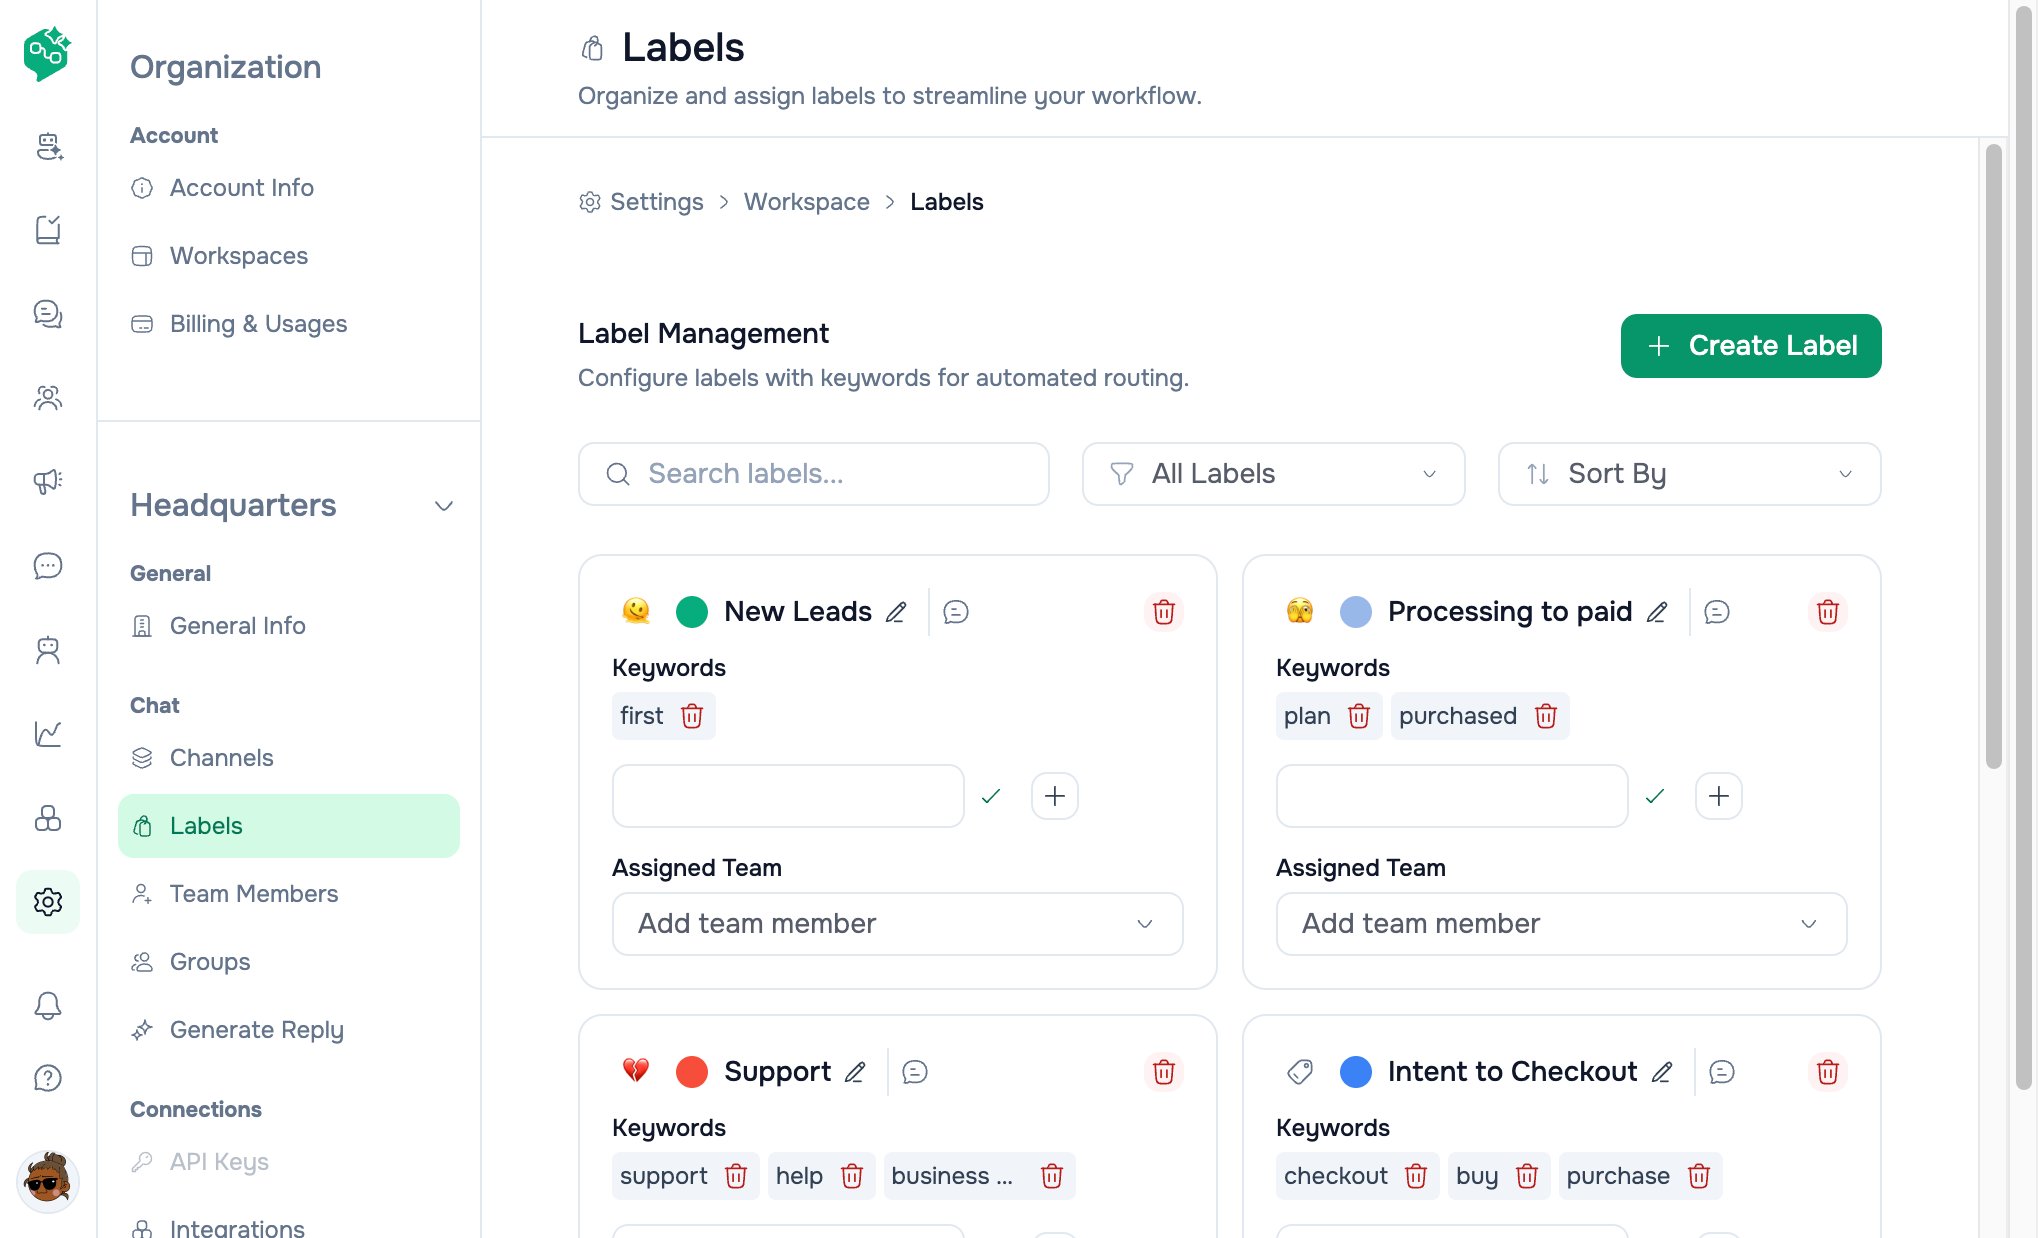
Labels
When a message says “wrong address,” she tags it instantly — no scrolling through mixed threads.
Deep dive: Shared inbox & labels
Step 3 — First reply in Chat
- Open Chat from the sidebar →
/chat - Click the new conversation (appears when a customer messages your connected number)
- Type a reply in the composer and send
Step 4 — Invite Rafi
From Onboarding: Add Team Member →/settings/workspace/team-membersOr: Settings → Workspace → Team Members → Invite
Rafi accepts the email invite and lands in Chat.
Step 5 (optional) — Integrations later
Settings → Workspace → Integrations →/settings/workspace/integrations
Not required on day one. Come back when you want Agent Skill, Zapier, n8n, or extra tools. Onboarding Step 3 is Create AI Agent.
Alternative first channel — Messenger or Instagram
Same Onboarding Step 1 flow; pick a different card in the catalog:
Deep dive: Messenger & Instagram
What good looks like after day one
- ✅ At least one channel Active
- ✅ Two or more labels your team actually uses
- ✅ Two teammates who’ve both replied from Chat
- ✅ Unread badges going down during the shift
Common first-day questions
“I don’t see any conversations yet.”A customer must message your connected number first — or your team starts an outbound conversation where the channel allows it. “I’m stuck on Google workspace setup.”
That’s
/oauth-onboarding — complete organization name, then you’ll reach Chat. See Onboarding guide.
“Where is the onboarding checklist?”Onboarding in the sidebar →
/onboarding — four accordion steps.
“Can we both reply at once?”Yes. Assign threads so ownership is clear, or use labels to show who’s handling what. “Why can’t I type a free WhatsApp message?”
Outside the 24-hour customer window you need an approved template. See WhatsApp doc. “Should we turn on AI today?”
Usually not on day one. Get comfortable with manual replies, then add an AI Agent when the same questions repeat. “Where do I get help?”
Open AI Workspace Co-Admin and ask in plain language — or use the Resources panel on the Onboarding page (Help center, Video guides).